NieR Replicant ver 1.22474487139 is an unusual game, with plenty of unconventional aspects. The storytelling doesn’t always follow traditional rules, and there are numerous gameplay quirks that deviate from the norm.
To maximise this surreal but satisfying experience you definitely need to be aware of some important bits and pieces. Here are 15 of our top tips and tricks you should know about Nier Replicant ver 1.22474487139.
Get every ending
I’ll start with the most important, without venturing into any spoilers.
All I will say is that there are many endings in NieR Replicant. These involve a lot of backtracking, and at times it can become rather tedious. You can easily start to wonder if you should throw in the towel and watch YouTube instead.
Rest assured, it’s worth it in the end. NieR Replicant delivers a superb final section and true ending, which pays off the time and effort involved to reach it. Also, the monotony is not as bad as it sounds. Subsequent playthroughs are not started from scratch, and get easier each time since levels and equipment carry over.
The first couple of endings are basically impossible to miss, but afterwards things get a bit trickier. We have a spoiler-free ending guide in the link below, to ensure you don’t miss out on any content.
Take advantage of NieR Automata’s soundtrack
In light of the above, it’s worth having something to reinvigorate you whilst you’re retracing your steps in subsequent playthroughs.
NieR Replicant has a wonderful soundtrack in itself, but a great inclusion was the soundtrack of its awesome sequel, NieR Automata. This is unlocked after viewing Ending A, and can be switched over on the main menu.
I’d definitely recommend taking advantage of another stellar soundtrack to break up the tedium. Automata’s melodies act as direct replacements to the corresponding tracks within Replicant, always fitting in seamlessly and capturing the mood of each scene and setting.
Another tip: if you haven’t played NieR Automata itself yet, play it as soon as you’re done with NieR Replicant!

View every tutorial
The basics of NieR Replicant are explained within the first hour or so, but there are a lot of other tips that can pass you by if you don’t remember to read them.
Tutorials will fly at you repeatedly, often in the heat of battle. You can be forgiven for putting these off, but it’s definitely advisable to take a look as soon as you’ve polished off your enemies. Others are found in crates, so smash anything in your path.
Don’t be put off by the idea that you’ll break the flow of the game with lengthy explanations. Most of these tutorials are literally just a line or two, but they get to the point and drop crucial tidbits that can really assist. There are some handy things I didn’t realise until very late in the game that would have made my life a lot easier.
Buy all of the maps
This is a brief but important one. NieR Replicant has quite a lot of invisible walls and dead ends, so your exploration is greatly assisted by seeing the lay of the land.
Each time you enter a new area, be sure to purchase the corresponding map from the item shop. They are certainly worth the relatively inexpensive cost.
The minimap is useful during battles
On the subject of maps, the minimap is multi-purpose. I didn’t find NieR Replicant’s difficulty very challenging, but some of the sterner tests come with huge hordes of shades that surround you. Thankfully, these are displayed on the minimap in white, so you can appraise the situation.
Blocking and dodging are obviously key, but the most important thing is that you don’t leave your back exposed. The camera is not always your friend – especially when using a target lock – so the best way of keeping out of trouble is by getting into the habit of glancing at the minimap.
You’ll get used to spotting when a shade is about to cause some problems, which will prompt you to dodge around the other side and stay on the attack.
Understand Word Edit
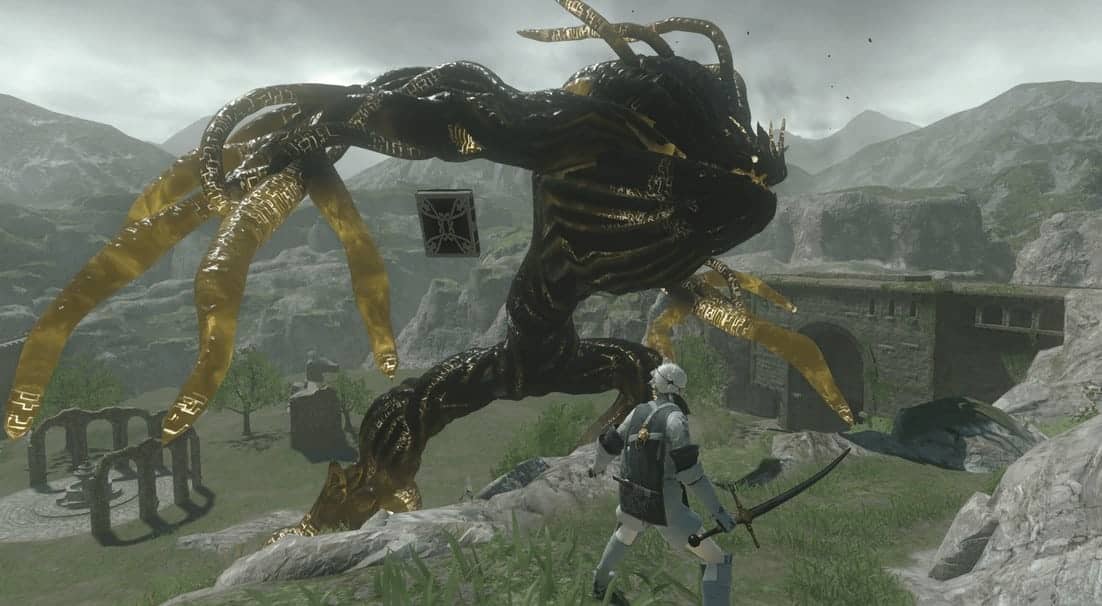
It’s not just tutorials that fly at you during battle. Words are never far behind, generally unlocked at random by killing shades in certain areas.
Word Edit is where you can boost your weapons, spells, and martial arts. This is such an unusual name for a menu section that it can actually be easy to skim over. However, this is important to bolstering things like attack power, magic power, item drop rate and guard effectiveness.
There is an ‘equip best words’ function to save you some headache, along with a handy ‘bulk equip’ which can let you attach your best words to a whole selection of weapons. When you are switching weapons (see further below), this is definitely something that will help you avoid hassle in the long run.
Equip words that increase item drop rate
I’ll reiterate that you really should get all endings, which will eventually require you to collect all weapons. Don’t panic – they’re not missable, but will involve a few sidequests and some rare materials.
Since many weapons are available at a hefty price from shops, the other thing you will need is a lot of money. Getting rare drops will make it easier to complete the non-mandatory quests, and also leave you with more items to sell in your inventory.
Combat is manageable without the need to stack up your power, so I would suggest focusing on words that increase your item drop rate. This is a trade-off that will benefit you in the latter story paths.
Don’t sell items until you need them to afford weapons
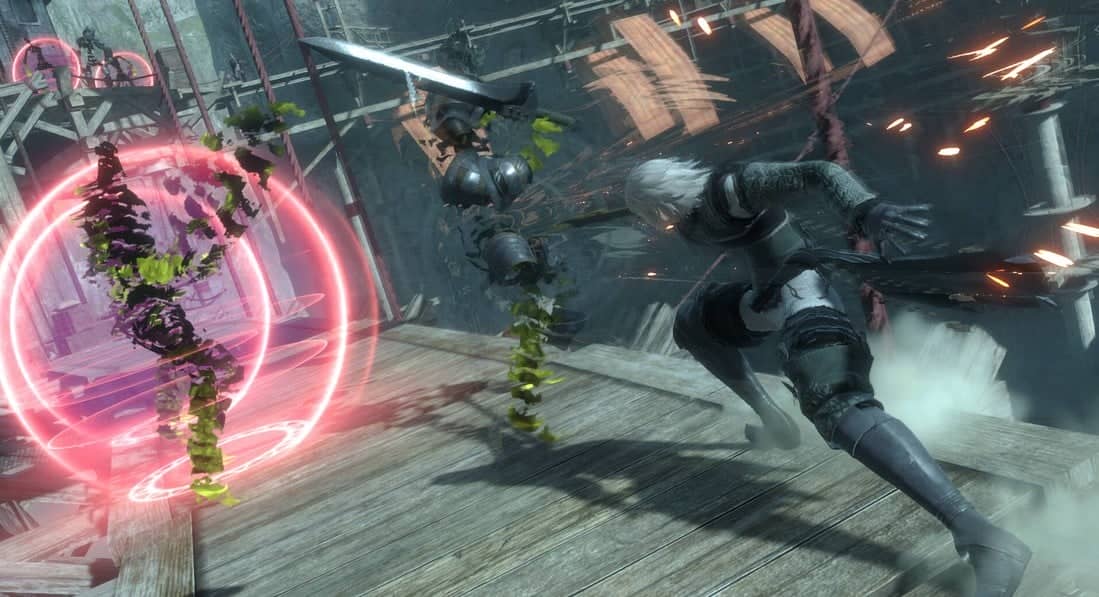
Despite the above points, you should probably wait until you have viewed the first two endings before you start flogging your stuff. You are generally better off giving up these materials to complete quests, and there’s nothing better than commencing a fetch quest only to realise you already have the necessary items.
However, by the time route C comes around and you need to purchase the most expensive weapons, you may well be fed up with side quests. From this point, you only actually need Machine Oils, Goat Hides and Eggplants to complete the relevant quests, meaning the rest of your stuff can theoretically be sold. If you are sick of questing and consider it time to get on with the next story conclusions, be a bit more liberal with your selling habits without worrying about the consequences.
Spears are great
At a certain point in the game, your weapon selection is expanded to include two-handed weapons and spears.
Obviously each weapon type has it upsides and downsides. One-handed weapons are quick but weak. Two-handed weapons are strong but sluggish. Spears offer a happy medium, granting speed and power in perfect harmony.
Once I started using them, I never went back. The Phoenix Spear in particular is a great weapon, available as soon as Spears are unlocked from the weapon shop in Facade – especially once upgraded once or twice.
The only downside of spears is the precision of their light attacks doesn’t necessarily lend itself to sweeping through multiple enemies at once. I still found them by far the best choice, since the slower heavy attacks allow you to whirl around and hit numerous shades.
Quick Switch weapons where necessary
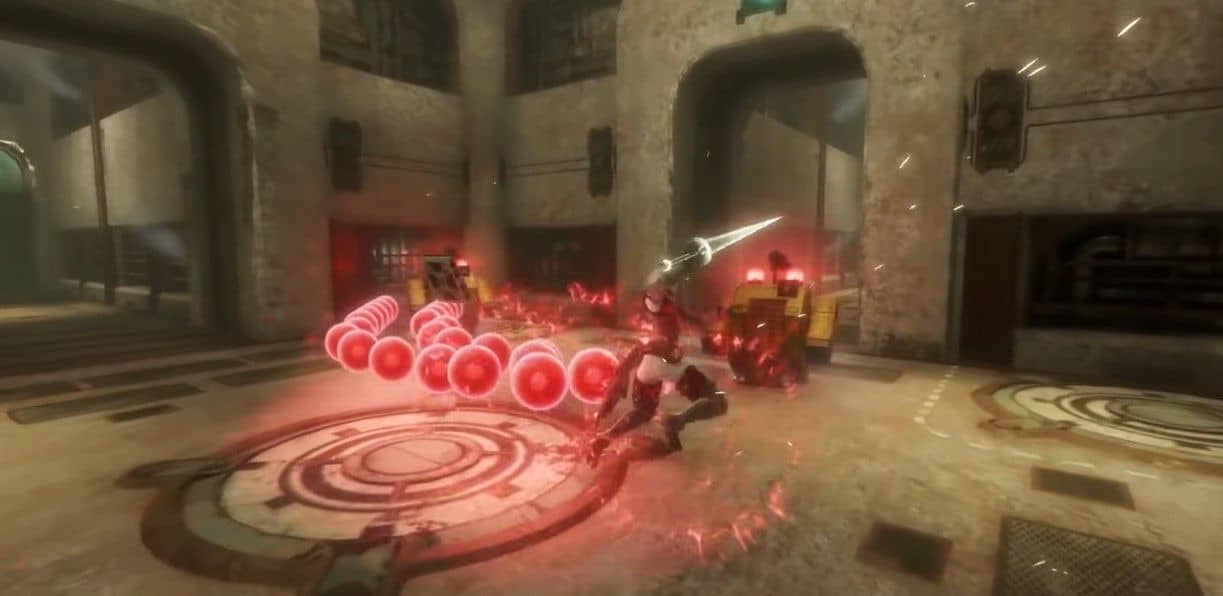
One of the important tutorials I missed for a while was quick switching. If you find yourself in a bind where a different weapon type would serve you better, then a quick tap of a directional button will instantly switch weapons without even needing to enter the menu. However, you’ll need to change the settings as the default option is to hold the relevant directional button rather than tapping it – I found the latter far better in the middle of battle.
This works well with the other tips – make sure you bulk assign the relevant words to all of your weapons, meaning that you won’t miss out on the item drop bonuses when you swap over in the middle of a skirmish. This will default to the last weapon you used from the type you are selecting.
Admittedly there is no penalty for switching the weapons in the menu, but it looks far cooler to quick switch and keeps you right in the moment.
Use finishing moves
I’ve seen many people mention that they completed the game without even realising this was an option.
When shades are knocked down, if you approach them and use the ‘examine’ button rather than the attack button, you can actually land an instant finishing attack!
Some of these shades have a lot of health, making it well worth defeating them before they have a chance to get back on their feet and cause you trouble.
Optional quests are a double-edged sword
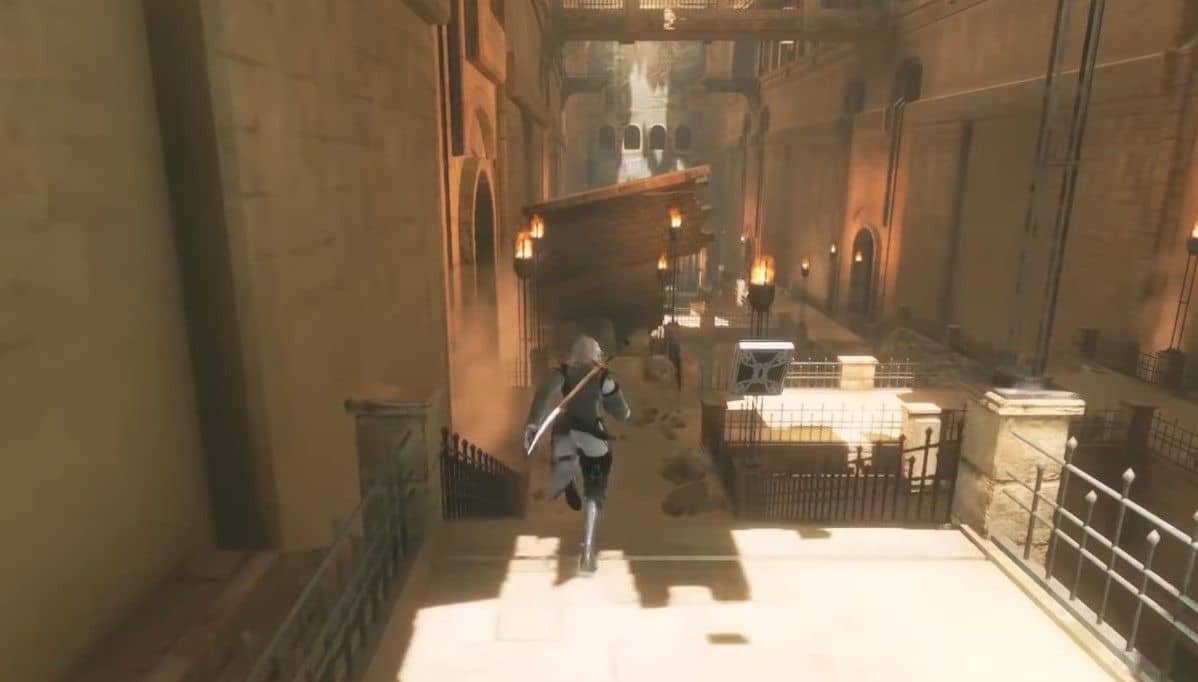
It’s fair to say the quests of Nier Replicant tend to be… pretty mundane. All too often, they simply involve a hunt for a list of materials rather than anything exciting. Granted, this isn’t true of all of them, but the vast majority fall into the ‘bland’ category.
The main upsides that balance the monotony of these repetitive fetch quests are some great monetary rewards and a lot more dialogue between the characters whilst these quests are being undertaken.
There are only four quests you actually need to clear in order to obtain all of the weapons and unlock all endings. If you’re in a hurry to reach the endings you can skip most of them altogether, but if you want to spend a bit more time with the characters then it’s worth taking them on. This is a personal choice depending on how much more of Weiss and Kainé’s excellent banter you want to witness.
Don’t force yourself to do optional activities
There is more to NieR Replicant than just the side quests. Fishing, gardening and grinding are all available if you want them, but let’s face it – they aren’t the most thrilling excursions either. If you agree, then rest assured that you aren’t required to engage in anything of the sort.
Literally nothing earned from these activities is needed to unlock all endings. You only need to think about a few weapons given as rewards from some quests, which are all detailed in our weapons guide. The difficulty is also manageable, meaning there is no desperate need for rewards in the form of items and EXP.
If you are not a completionist, don’t feel like you are missing out anything by skipping these things and just getting on with the story.
Beat the boar – preferably early on
When fast travel is finally unlocked, it isn’t the most user-friendly function within NieR Replicant. You have to trek around the village to reach a boat, and then it doesn’t even take you that close to your destination.
The next best thing is the boar, which can move at rapid speeds and make your backtracking and side-questing a lot less tiresome. You can travel by boar after beating the “Boar Hunt!” quest, which is available from a man in the market area of your village. After accepting this quest, head to the area on the Northern Plains in between the Aerie and the Forest of Myth to take him on.
He’s actually pretty tough in the early parts of the game, and it can take a while to whittle down his health. However, if you keep dodging around him when he starts shuffling his hooves to charge, you can beat him without taking a hit. If you can lure him into charging into a rock – even better, as he’ll be temporarily stunned.
Once you’ve conquered this foe, head back to the man to receive 1,000 gold. From this point forth, a boar will be sleeping outside the village. He can be ridden, and pressing the sprint button will propel you forward at great speed, making most of your journeys a breeze. He can also be summoned from the ‘Orders’ section of the menu whilst out in the plains.

Finally, Auto-Battle is there for emergencies
I’m not sure I can actually recommend this in good conscience, but if you really find yourself in a desperate spot, you can turn on ‘auto-battle’.
This is accessed from the menu, and does exactly what it suggests, meaning you can let the game dodge, block and attack for you… which it will do flawlessly. You can toggle specific parts of combat to be automated if you’d prefer, or just switch the whole thing on and easily rip through everything in your path.
I mean, it’s looks great… but where’s the fun in that?
Conclusion
There we have it – 15 NieR Replicant ver 1.22474487139 tips.
Keep these in mind and you’ll hopefully get the most enjoyment possible from this bizarrely brilliant game, along with the full mind-blowing story content.


